19 Cute Summer Nails: Your Guide to Fun and Festive Nails
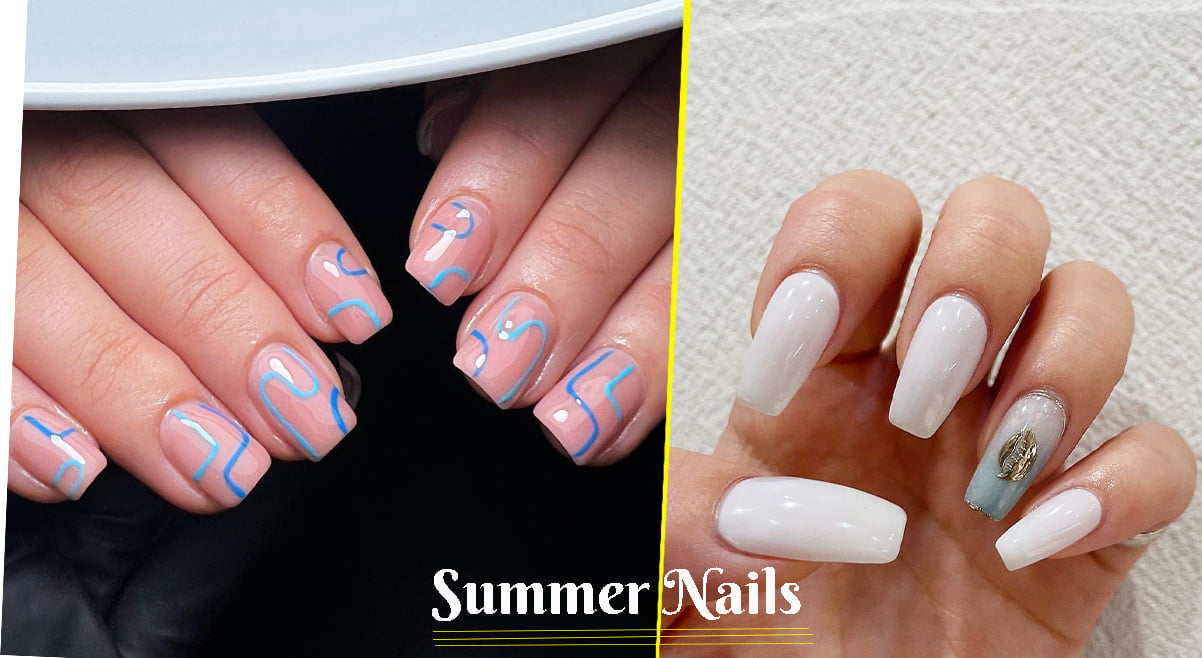
When the warm weather hits, it’s time to switch up your nail game! Summer nails are all about bright colors, playful designs, and experimenting with different textures. Whether you’re headed to the beach or simply soaking up the sun in your backyard, your nails are the perfect accessory to complete your summer look. In this article, we’ll cover everything you need to know about summer nails, from the hottest trends to the best nail care tips.
#. Why Summer Nails Matter
Summer is the season for showing off your fun and festive side, and your nails are no exception. A fresh coat of nail polish in a bright, bold color can make you feel confident and put-together, even on the hottest days. Plus, a fun nail design can be a conversation starter and a great way to express your personality.
#. The Hottest Nail Trends of Summer 2024
What’s hot in the world of summer nails? Here are some of the top trends to try:
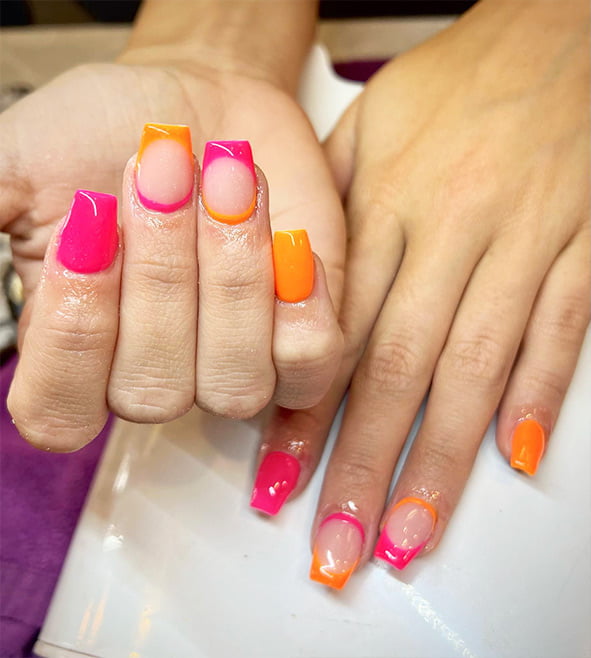
1. Neon Colors
Neon colors are back in a big way this summer. From bright pink to electric green, these bold shades are perfect for making a statement.
#. Why Neon Nails Are Perfect for Summer
Neon nails are the perfect choice for summer for several reasons:
- They’re fun and playful: Neon colors are often associated with a carefree and playful attitude, which is perfect for the laid-back vibes of summer.
- They stand out: Neon colors are bright and bold, making them the perfect statement accessory to any outfit.
- They complement a tan: Neon colors look especially stunning against sun-kissed skin, making them the perfect complement to your summer glow.
#. Popular Neon Nail Designs
#. There are countless ways to incorporate neon colors into your nail designs, but here are some of the most popular options:
- Neon French manicure: A neon French manicure takes the classic French manicure to the next level by swapping out the traditional nude or pink tips for bold neon hues.
- Ombre neon nails: Ombre nails are a popular trend that involves blending two or more colors together. With neon ombre nails, you can create a striking gradient effect using your favorite neon shades.
- Neon animal print: Animal prints are a timeless trend, and they look even more eye-catching when done in neon hues. Try adding neon leopard spots or zebra stripes to your nails for a wild and fun look.
#. Tips for Creating the Perfect Neon Manicure
#. If you want to create the perfect neon manicure, here are some tips to keep in mind:
- Start with a white base coat: Neon colors can appear muted or streaky if applied directly to your nails. To make them pop, start with a white base coat.
- Use thin coats: Neon nail polishes can be thick and gloopy, so it’s important to use thin coats to ensure even coverage and prevent smudging.
- Finish with a top coat: A top coat will help protect your neon manicure and give it a glossy finish.
By following these tips, you can create a neon manicure that's sure to turn heads this summer.
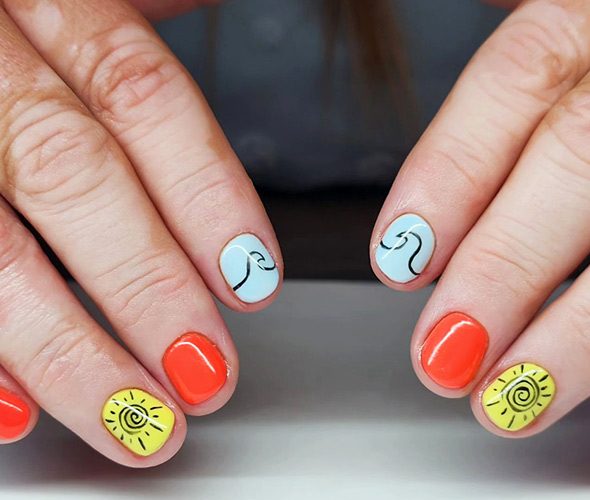
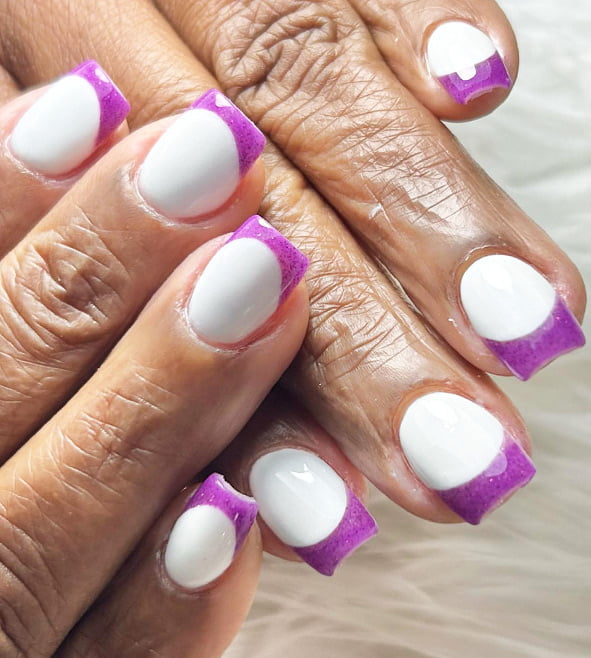
2. Negative Space Designs
Negative space designs are all about creating a pattern or design using the natural color of your nail as a backdrop. This trend is great for adding a touch of elegance to your summer look.
There are countless ways to incorporate negative space into your nail designs, but here are some of the most popular options:
- Geometric shapes: Negative space can be used to create a variety of geometric shapes, such as triangles, squares, and stripes. These designs can be simple or complex, depending on your skill level and preferences.
- Floral designs: Negative space can also be used to create floral designs, with the painted portions of the nail serving as the petals or leaves. These designs can be delicate and intricate, adding a touch of femininity to any look.
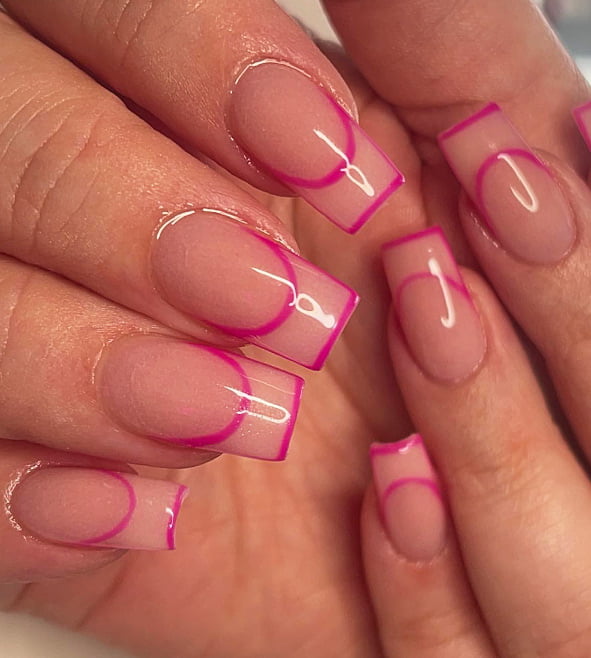
- French manicure: A French manicure is a classic nail look that can be updated with negative space. Instead of painting the entire nail with a nude or pink shade, leave a portion of the nail bare for a modern twist on the traditional French manicure.
#. Tips for Creating the Perfect Negative Space Manicure
Creating a negative space manicure can be a bit trickier than a traditional painted manicure, but with these tips, you'll be able to create a stunning design:
- Start with a clean base: Negative space designs require a clean and tidy nail bed, so make sure to prep your nails before beginning your design.
- Use tape or stencils: If you’re struggling to create straight lines or specific shapes, consider using tape or stencils to guide your design.
- Experiment with color: Negative space designs can be done with any color combination, so don’t be afraid to experiment with bold or unexpected colors.
- Finish with a top coat: A top coat will help protect your negative space design and give it a glossy finish.
3. Tie-Dye Nails
Tie-dye isn’t just for t-shirts anymore! This summer, try out this fun and playful trend on your nails. From subtle pastel shades to bold and bright swirls, the possibilities are endless.
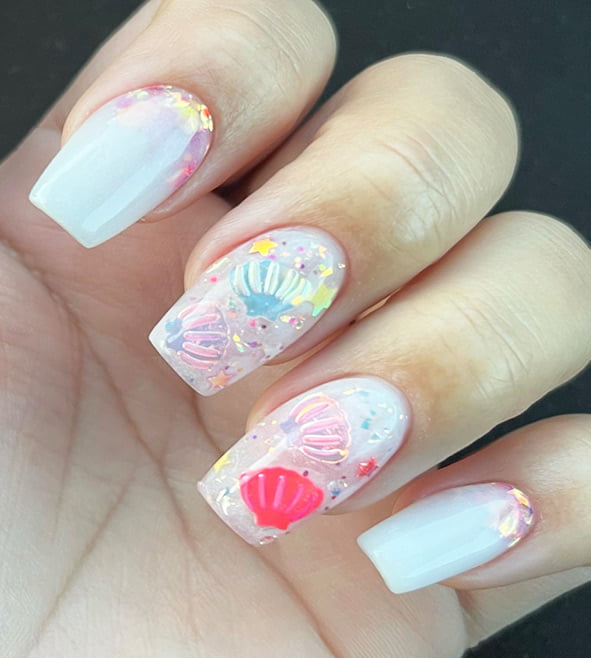
The beauty of tie-dye nails is that there are countless ways to create unique and stunning designs. Here are some popular tie-dye nail designs to try:
- Classic swirls: This is the most traditional and recognizable tie-dye design, featuring swirling colors that blend together seamlessly.
- Stripes: For a more modern take on tie-dye, consider creating stripes of different colors on your nails. This design can be bold or subtle, depending on the colors you choose.
- Ombre: An Ombre tie-dye design starts with one color at the base of the nail and gradually fades into other colors towards the tips.
- Accented nails: If you’re not quite ready to commit to a full tie-dye manicure, try adding tie-dye accents to just a few nails. This can be a fun way to experiment with the trend without going all-in.
#. Tips for Achieving the Perfect Tie-Dye Manicure
Creating a tie-dye manicure may seem daunting at first, but with these tips, you'll be able to create a flawless and colorful look:
- Use a white or light-colored base: The best way to make your tie-dye colors pop is to use a white or light-colored base coat. This will allow the colors to stand out and blend together seamlessly.
- Use a toothpick or nail art tool: To create intricate designs, consider using a toothpick or nail art tool to apply the colors and create patterns.
- Experiment with different colors and techniques: Tie-dye nails are all about creativity and experimentation, so don’t be afraid to try different color combinations and techniques to create your perfect design.
- Finish with a top coat: A top coat will help protect your tie-dye manicure and give it a glossy finish.
4. Matte Finish
Matte nail polish is a great way to add a touch of sophistication to your summer look. Whether you opt for a neutral shade or a bold color, a matte finish is sure to turn heads.
#. The Beauty of Matte Finish Nails
When it comes to nail polish, the finish can make all the difference in the look and feel of your manicure. One finish that has gained popularity in recent years is matte. Matte finish nails have a unique texture and appearance that can add a touch of sophistication and edge to any look.
In this article, we’ll explore the world of matte finish nails, including what they are, how to achieve the look, and some popular designs to try. Whether you’re a fan of bold and daring colors or prefer a more subtle and classic look, there’s a matte finish manicure that’s perfect for you. So, let’s dive in and discover the beauty of matte finish nails!
#. How to Achieve the Perfect Matte Finish
Achieving a matte finish on your nails can be a bit tricky, but with the right tools and technique, it's definitely possible. Here are some steps to follow to achieve a perfect matte finish on your nails:
- Start with clean, dry nails. Make sure your nails are free of any oils or residue from previous nail polish.
- Apply a base coat. Just like with any nail polish application, it’s important to start with a base coat to protect your nails and help the polish adhere better.
- Apply the matte nail polish. When applying a matte nail polish, it’s important to work quickly and with precision. The polish dries faster than regular polish, so you want to avoid applying too much or going over the same area multiple times. Apply the polish in thin, even coats and wait for each coat to dry before applying the next one.
- Avoid using a topcoat. Unlike with regular nail polish, you should avoid using a topcoat with a matte finish polish. The topcoat will add shine and gloss, which will take away from the matte effect.
- Clean up any mistakes. Since the matte polish dries quickly, it’s important to clean up any mistakes immediately. Use a small brush dipped in nail polish remover to clean up around the edges of your nails.
- Allow the polish to dry completely. Matte nail polish can take longer to dry than regular polish, so be patient and wait for your nails to completely dry before moving on to the next step.
- Enjoy your matte finish nails!
Now that you know how to achieve the perfect matte finish on your nails, it’s time to experiment with some fun designs. Here are some popular matte nail designs to try:
#. Matte Nail Design Ideas
- Ombre: Create a gradient effect by using two different matte colors that blend into each other.
- Metallic accents: Add some shine and dimension to your matte nails by incorporating metallic accents in silver or gold.
- Geometric patterns: Use a striping brush to create unique geometric patterns with your matte nail polish.
- French tip: Give the classic French manicure a modern twist by using a matte finish instead of a glossy one.
- Negative space: Create a minimalist look by leaving some areas of your nails unpainted to create negative space.
No matter what design you choose, matte finish nails are a great way to add a touch of sophistication and edge to your look. So go ahead and try out some of these matte nail design ideas and see what works best for you!
#. How to Take Care of Your Summer Nails
Summer can be tough on your nails, with all the sand, sun, and saltwater. Here are some tips for keeping your nails healthy and strong all season long:
-
Moisturize Regularly
Keeping your hands and nails moisturized is key to preventing dryness and breakage. Look for a nourishing hand cream or cuticle oil and apply it daily.
-
Protect Your Nails
If you’re spending a lot of time in the water, be sure to wear gloves to protect your nails from the harsh chemicals. You should also avoid using your nails as tools to open things, as this can cause them to break or split.
-
Take a Break From Polish
Giving your nails a break from nail polish every now and then can help them stay strong and healthy. Try going polish-free for a few days every month.
#. DIY Summer Nail Ideas
If you're feeling creative, why not try some DIY nail art at home? Here are some ideas to get you started:
1) Fruit-Inspired Nails
Add a pop of summer color to your nails with a fruit-inspired design. Think watermelon, pineapple, or kiwi.
There are many different fruit-inspired nail designs to choose from, including:
- Watermelon nails: These nails feature a green base with a pink and white design that mimics the look of a watermelon slice.
- Pineapple nails: Pineapple nails typically feature a yellow base with a green stem and black detailing to create the appearance of a pineapple.
- Strawberry nails: These nails often feature a red or pink base with small white dots to mimic the look of a strawberry.
- Citrus nails: Citrus nails often feature a bright yellow or orange base with green detailing to create the look of a citrus fruit like a lemon or lime.
#) DIY Fruit-Inspired Nail Tips
If you want to try fruit-inspired nails at home, here are some tips to get you started:
- Use a high-quality nail polish to ensure a smooth and even application.
- Start with a base coat to protect your nails and help your nail polish last longer.
- Use a small brush or toothpick to create the intricate details of your fruit-inspired design.
- Finish with a top coat to help your design last longer and prevent chipping.
#) Fruit-Inspired Nails: Perfect for Summer
Fruit-inspired nails are perfect for summer because they add a fun and playful touch to your look. They’re also a great way to experiment with bold colors and designs that you might not normally wear.
So, whether you’re headed to a beach vacation or just spending time by the pool, consider adding some fruit-inspired nails to your summer beauty routine.
2) Beachy Vibes
Get in the beachy spirit with a design inspired by the ocean. Think waves, seashells, and sand.
There are many different beachy vibe nail designs to choose from, including:
- Ocean waves: These nails often feature a blue and white design that mimics the look of ocean waves.
- Sand and seashells: Sand and seashell designs typically feature a light tan or beige base with small white or gold seashell details.
- Palm trees: Palm tree nails often feature a green base with black detailing to create the appearance of palm trees swaying in the breeze.
- Sunsets: Sunset nails often feature a gradient design with shades of orange, pink, and purple to mimic the colors of a summer sunset.
#) DIY Beachy Vibes Nail Tips
If you want to try beachy vibes nails at home, here are some tips to get you started:
- Use a high-quality nail polish to ensure a smooth and even application.
- Start with a base coat to protect your nails and help your nail polish last longer.
- Use a small brush or toothpick to create the intricate details of your beachy vibe design.
- Experiment with different colors and designs to create a look that’s uniquely yours.
#) Beachy Vibes Nails: Perfect for Summer
Beachy vibe nails are perfect for summer because they add a relaxed and carefree touch to your look. They’re also a great way to experiment with bold colors and designs that you might not normally wear.
So, whether you’re headed to the beach or just want to feel like you are, consider adding some beachy vibe nails to your summer beauty routine.
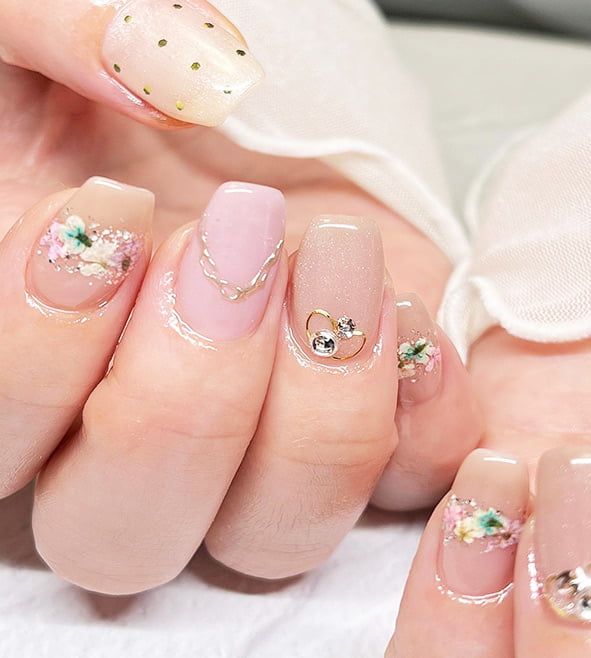
3) Floral Nails
Summer is the season for flowers, so why not incorporate them into your nail art? A simple floral design can add a touch of elegance to any look.
There are many different floral nail designs to choose from, including:
- Dainty flowers: Dainty flower nails often feature small blooms in soft colors like pink, yellow, and lavender.
- Bold florals: Bold floral nails typically feature larger flowers in bright colors like red, orange, and blue.
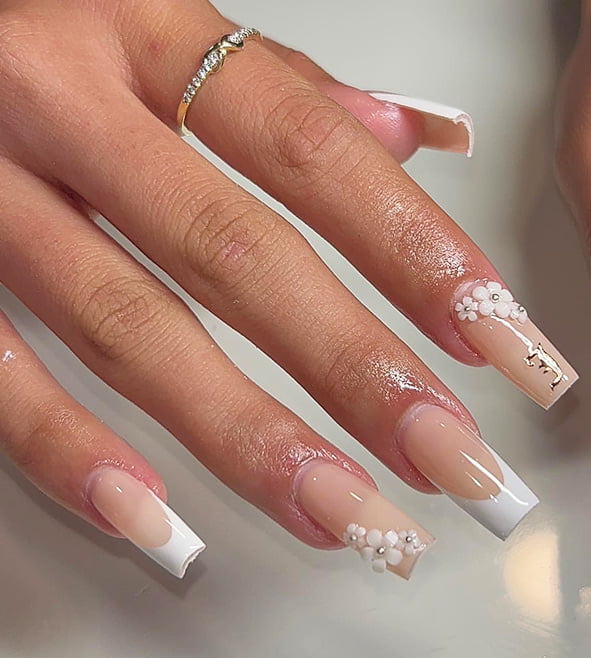
- Floral accents: Floral accents can be added to any nail design, whether it’s a French manicure or a bold Ombre design.
#) DIY Floral Nail Tips
If you want to try floral nails at home, here are some tips to get you started:
- Use a high-quality nail polish to ensure a smooth and even application.
- Start with a base coat to protect your nails and help your nail polish last longer.
- Use a small brush or toothpick to create the intricate details of your floral design.
- Experiment with different flower sizes and colors to create a look that’s uniquely yours.
#) Floral Nails: Perfect for Any Occasion
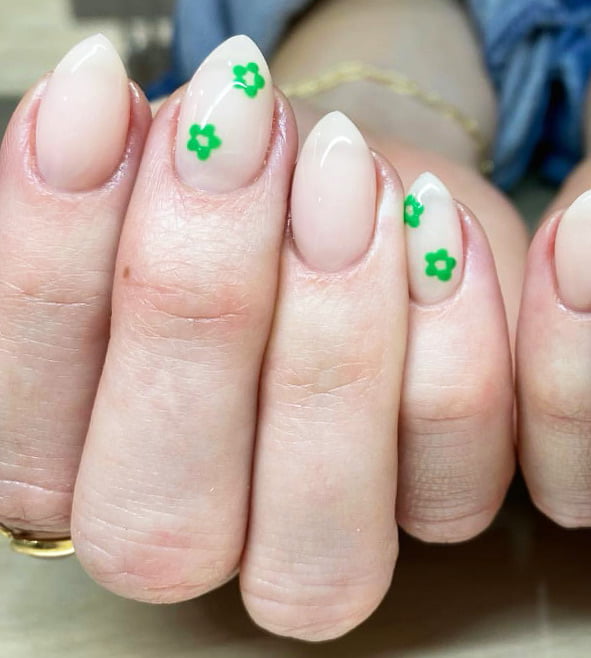
Floral nails are perfect for any occasion because they’re versatile and can be customized to fit your personal style. They’re a great way to add a touch of femininity to any outfit and can be dressed up or down depending on the occasion.
So, whether you’re attending a wedding or just want to add some floral flair to your everyday look, consider trying out some floral nails this summer.
#. Conclusion
Summer nails are all about having fun and expressing yourself. Whether you prefer bright neon colors or elegant negative space designs, there’s a summer nail trend for everyone. With the right care and attention, your nails can be the perfect accessory for any summer look.
#. FAQs
Q:1. How long does nail polish typically last in the summer?
A: The lifespan of your nail polish will depend on several factors, such as the quality of the polish, your nail care routine, and your daily activities. Generally, nail polish can last up to two weeks without chipping or peeling if you take proper care of your nails.
Q:2. Can I wear acrylic nails in the summer?
A: Yes, you can wear acrylic nails in the summer, but it’s important to take proper care of them to prevent damage. Be sure to wear gloves when doing activities that could damage your nails, and avoid exposing your acrylic nails to too much sunlight or heat.
Q:3. What’s the best way to remove nail polish in the summer?
A: The best way to remove nail polish is to use a high-quality nail polish remover and cotton pads. Be sure to moisturize your nails and cuticles after removing the polish to prevent dryness.
Q:4. Can I still wear dark nail polish in the summer?
A: Absolutely! While bright colors and playful designs are popular in the summer, there’s no reason why you can’t wear dark nail polish if that’s your preference. Just be sure to balance out the darkness with a bright or bold accessory to keep your look summery.
Q:5. How often should I get a professional manicure in the summer?
A: It’s up to you how often you get a professional manicure, but many people choose to get one every two to three weeks to keep their nails looking their best. However, if you’re short on time or budget, you can easily give yourself a DIY manicure at home.
Gouri Sankar: Beautician, Home Decor, Tattoo Designer, Hair Specialist, Enthusiast, Author. Creating beauty, art, and inspiring stories. Embracing diverse talents for a world filled with joy.

